Blog Archives

Headboards to Mickey Mouse Bench
A very good friend of mine was going to be turning 40 and I wanted to make her a little something special. She is OBSESSED with Mickey Mouse! I found a Mickey Mouse cut out headboard on Craigslist a few months ago and I knew I had to make it i to a bench for her!
We have all been on Pinterest and seen the millions of tutorials and DIY directions for making your own bench from a headboard or headboard and footboard. Me too! I am slightly obsessed with Pinterest. When I am laid up and unable to do anything…..I live vicariously through Pinterest. hahaha Don’t we all?
Anyway, I thought I can totally do that!!! Easy peasy! Oh man…..sometimes I really overestimate my talents. As far as I am concerned, nothing ventured, nothing gained. I knew I would be able to pull it off, it was just the easy peasy part I blew out of proportion.
I am also in love with Annie Sloan Chalk Paints! Seriously, if you haven’t used these…..YOU NEED TOO!!! I am an instant gratification kinda girl, so things like prep time and dry time make me insane. I hate dry time!! I have expressed this loathsome little detail in my other posts haven’t I? Yeah well, I most likely will continue to do so. Ok, so back to obsessed with chalk paint….its amazeballs! You can literally paint over nearly anything without having to sand or prime or any of that annoying prep stuff. See? Amazeballs!!! Problem….it’s a bit pricey for this recently disabled, poor chick. Also, there is only one store that actually sells it, otherwise you have to order it online. Uhhhh…..I have an issue with dry time, so you can guess waiting for paint to be shipped to me is just too much to ask for! I went to the local distributor here in town called Keep The Piece and purchased a small sampler of the Red color I really liked. From there, I went to Home Depot, my other home, and bought a similar color of regular latex paint along with a container of Plaster Of Paris.
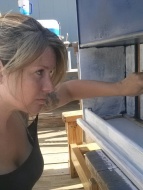
When I got home, I decided to attempt to make my own chalk paint. It turned out great!! Again, a Pinterest recipe! It’s one part hot water mix with one part Plaster of Paris and once that is dissolved and you let the water and paris mixture cool, you add 3 parts paint.

There I am ……mixing away. The mix turned out great! It had the same feel and consistency as the Annie Sloan brand I had purchased. Now, here’s the bottom line…if you can afford the Annie Sloan….BUY IT! It really is worth it. I bought Pure White Annie Sloan Chalk Paint and I believe its about a quart size and I have done a big workbench and a couple smaller projects and 4mirrors and I still have about 1/4 of it left. I don’t know how that is possible, but I have some left! I swear it multiplies when I am not looking. Hahaha This is not the case when you make your own. I used a quart and made my own chalk paint and I wiped that can dry using every drop for my bench. So, if you are on the cheap….make your own….but if you can afford it, buy the Annie Sloan.
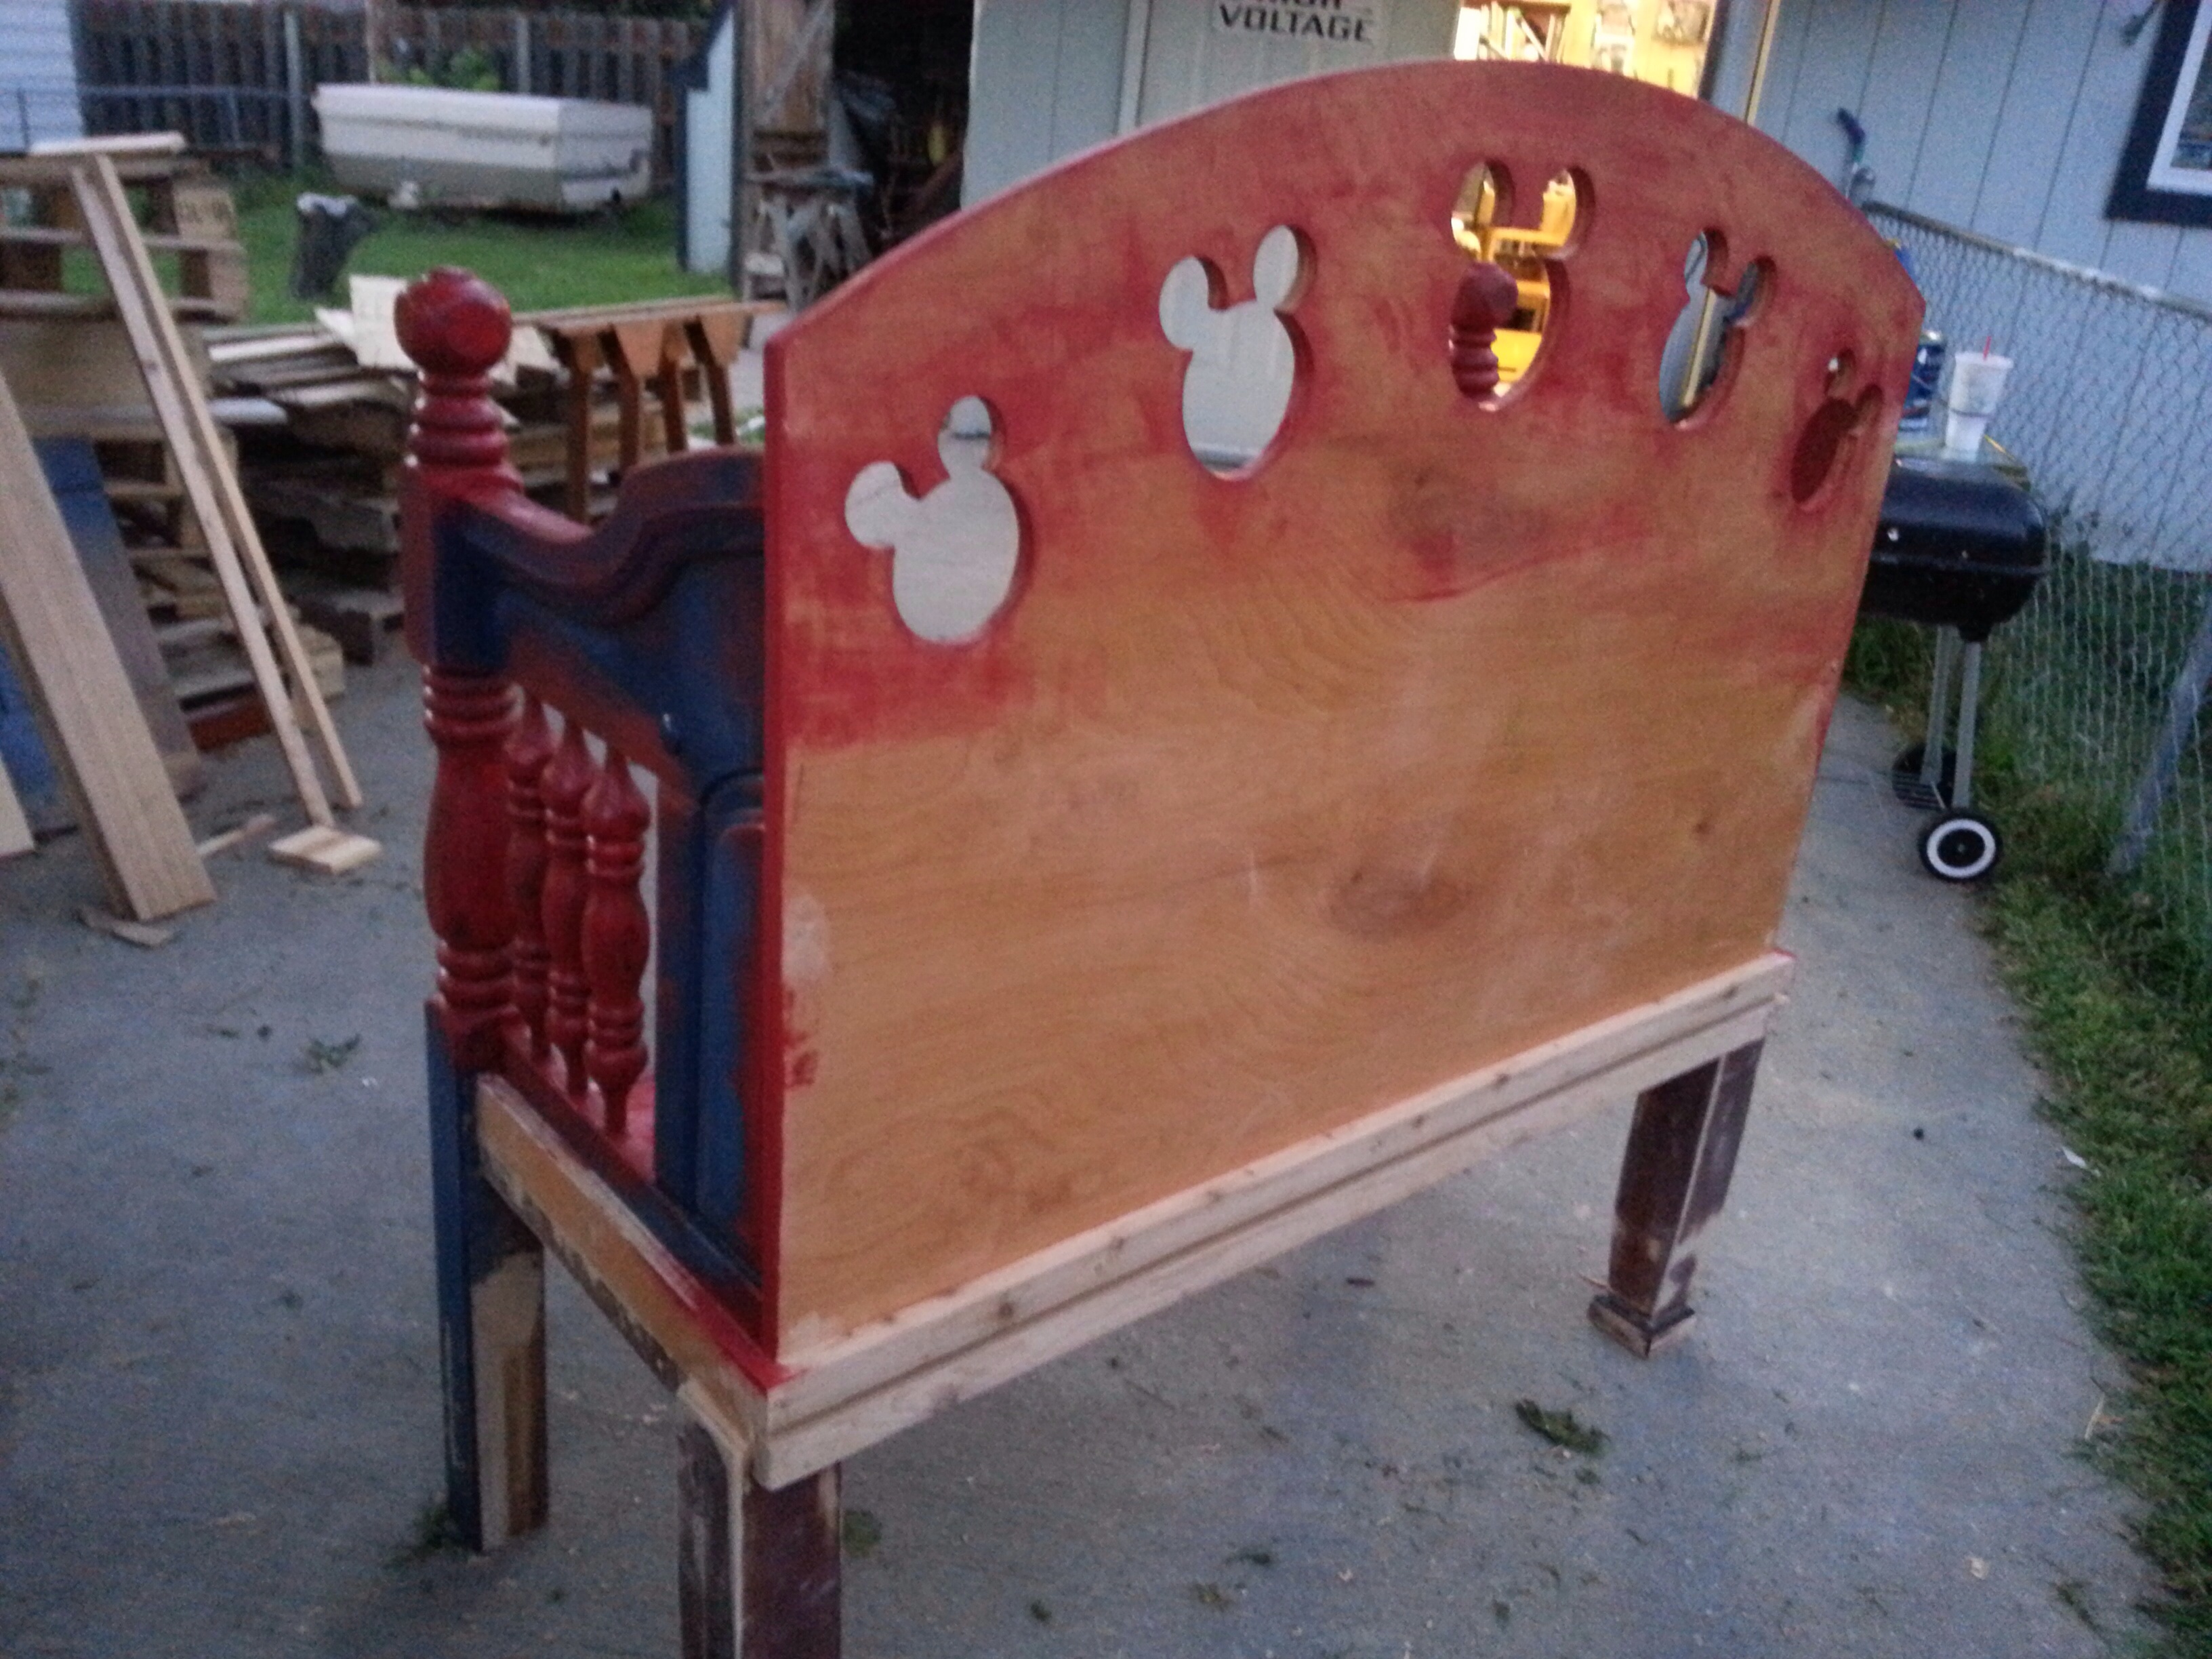
So…..I got busy. I ended up cutting a mouse off of both ends of the headboard because it was just too long. Even after cutting it down, it ended up about 5′ long. I used a second headboard I had gotten for free to use as the arms. It was heavy and solid and had a spindle like detail I thought would look nice.
Remember those easy diy instructions? Yeah…..I think after you do a few it gets easier. However, the first time is a bit tricky. Or maybe that is just me. It is quite possible. lol
I got so involved in actually building it, I didn’t take pics of the step by step process. Sorry! Not really doing a tutorial here, just sharing the end result. I will give you the basics this time and show you the pics and hopefully next time I will be a little more comfortable with the process and try to show you some easier ways to do things.
Anyway, I cut the spindle headboard in half and then chopped the legs off to be the height I wanted them to be. Again, thank goodness for Pinterest, because I didn’t consider that I would have to know how high a typical bench is and how deep and all of that fun stuff. I made my bench 5′ wide and 19″ tall and 18″ deep. I made it for my friend who is very tall and has some big boys who may sit on her bench so I made it big and sturdy! I used 2×4’s to make the frame for the seat and to reinforce the seat itself. I used 1×6″ boards cut to length for the seat. I used screws to attach everything. I also predrilled for the screws so not to split the wood. I also used wood glue to further reinforce anything I had to screw together. I told you….I wanted it to be sturdy hahaha.

This is a partially painted view of the bench for you.

I had the kids help me lift it up onto my sawhorses. Waaaayyy easier to paint that way!

After I painted the whole thing, underside and all…I decided I didn’t like it all red with no contrast. It felt like it was just too plain. So I decided to add some black to it and distress it a little.
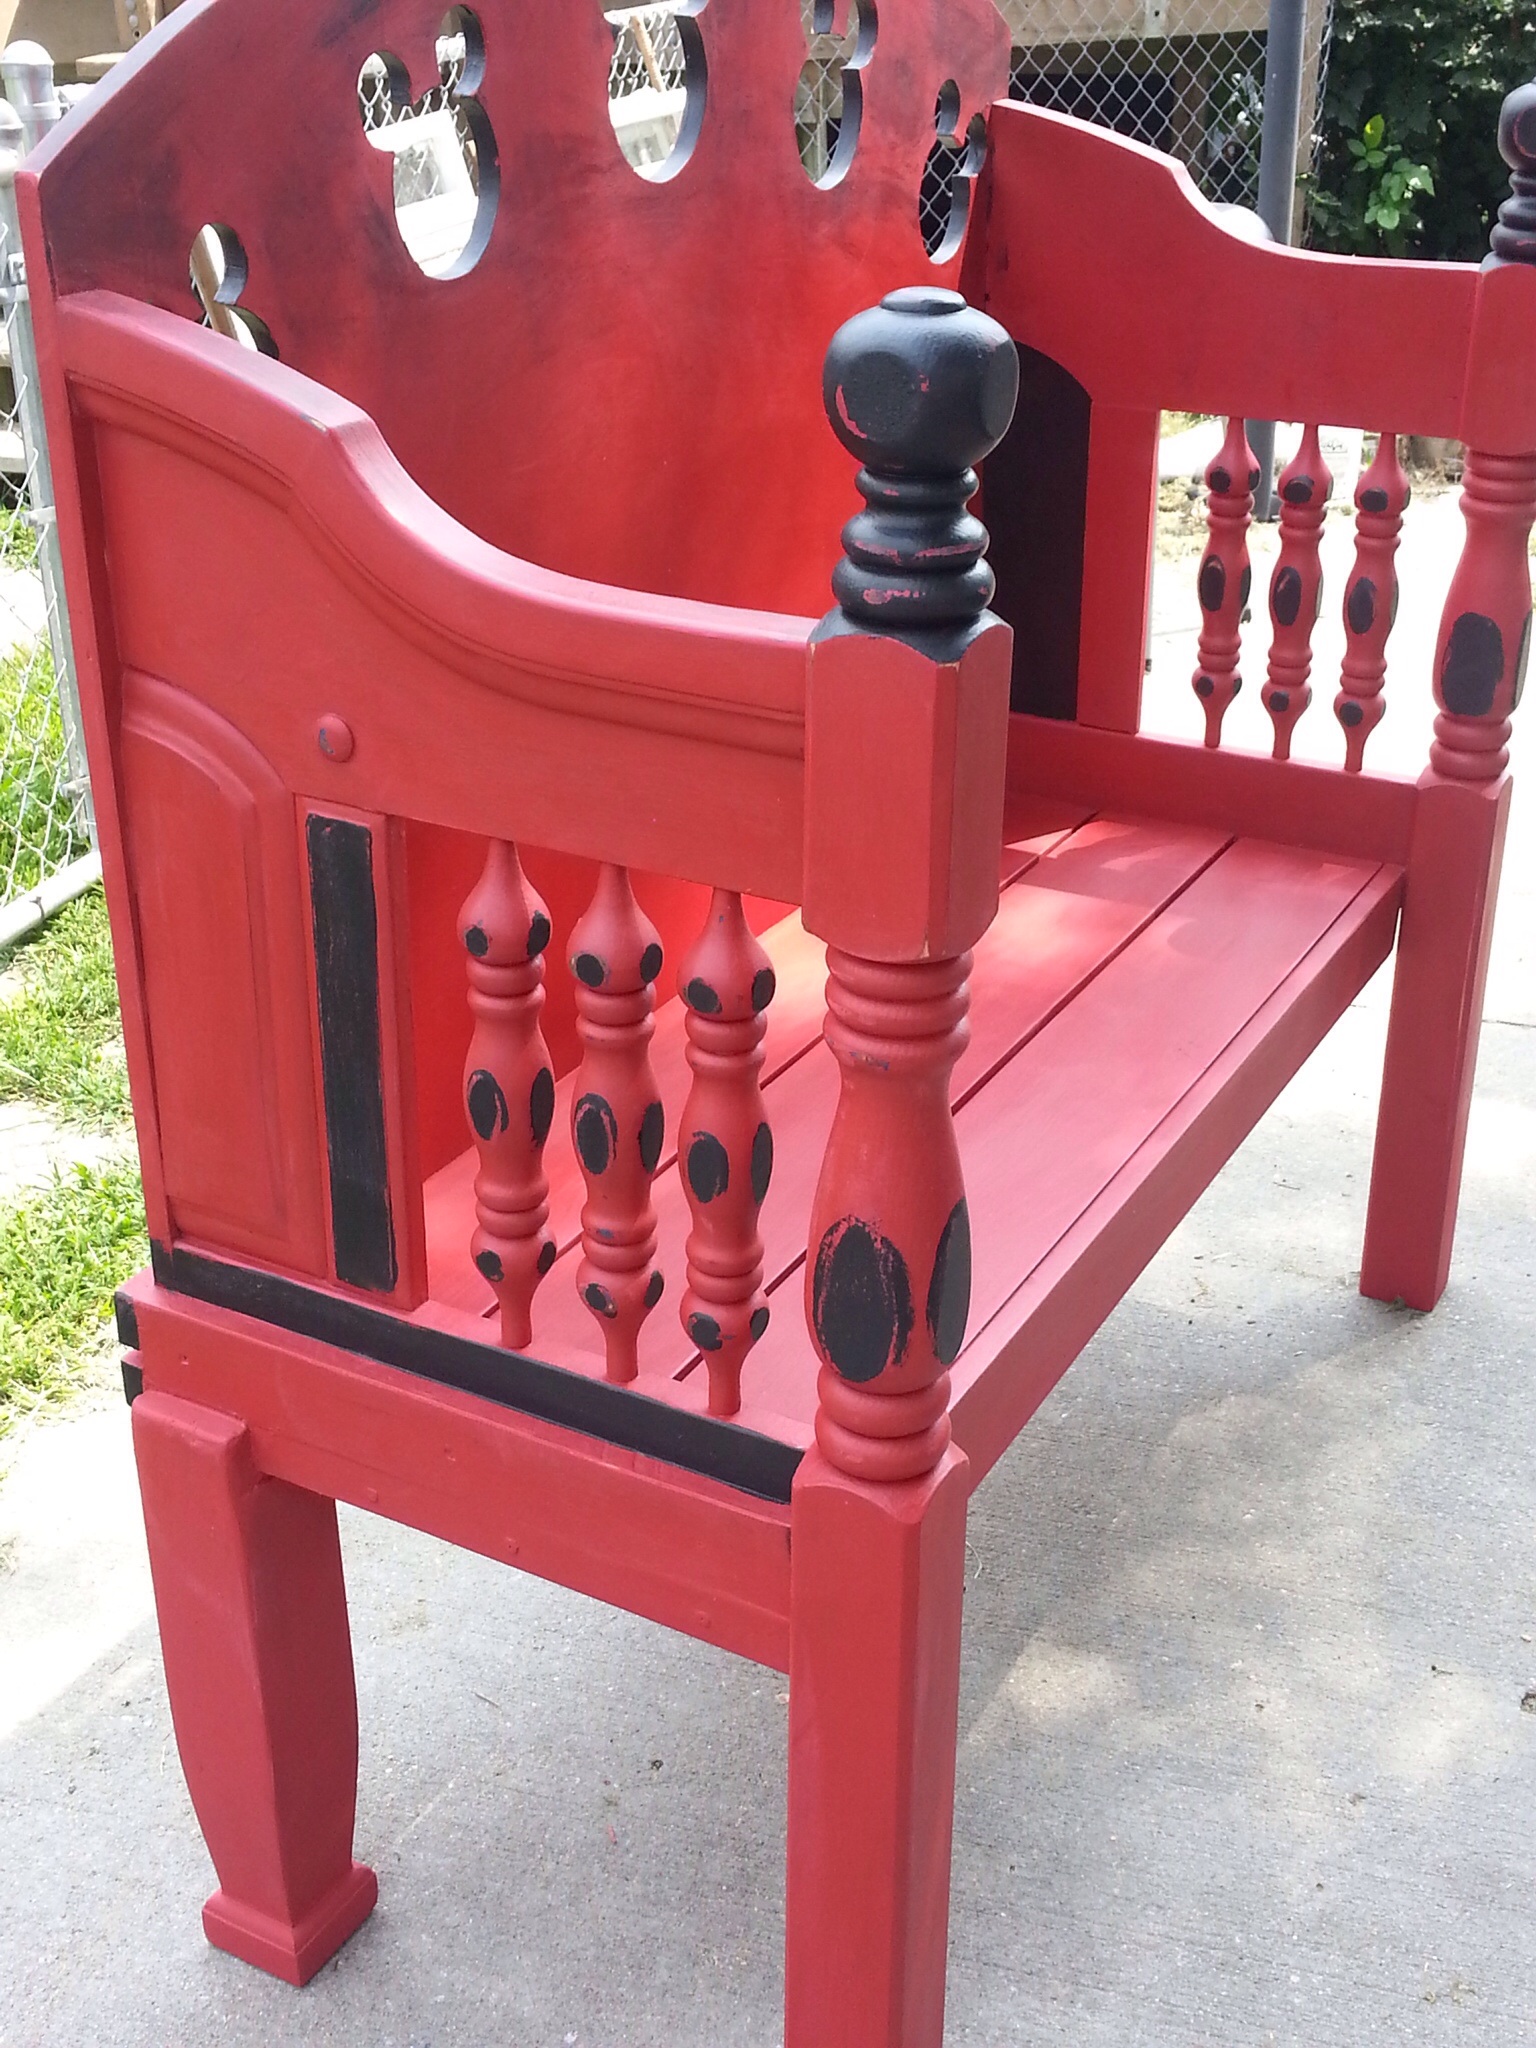
I like it much better with the red being broken up a little. I used black on the inside of the mickey cutouts too just to make them pop a bit.

Now, Annie Sloan says that when you use chalk paint on a piece that is going to be outside….do NOT wax it. Well…..I’m not a very good listener. I used some dark wax to add to the distressing and some clear wax on the seat and back and spindles to get that smooth feel. The thing I don’t like about distressing a piece is if it feels rough and chippy. I don’t like that! I want to feel silk when I touch a piece I have finished. So….I broke the rules on that one…kind of. I didn’t wax the underside or back at all. I only waxed the parts that would be sat on touched a lot with your hands.

Here is a closer look at the finished product. I really like how it turned out. It is huge and heavy! But, my friend Tammy loves it and that was what I was going for. I have an old crib and a ton of pallets I have plans for and I will be sure to take more photos and go i to more detail about how to build a bench next time. We had about 2 weeks, off and on, of beautiful weather that let my body cooperate with me to get this done. It is gorgeous again this week and sadly my stupid back is out!!! Grrrrr!!!! I am making a large mirror with a frame and refinishing a desk and a bunch of smalls for my daughters’ room. I have been taking a lot of photos and I will keep working and post the processes as soon as I can.
So get off your booties, after binging on Pinterest and go make your own benches! It really was fun. I learned a lot from the process and can’t wait to make another one.
DIY Headboard Project

When this beautiful little face looks up at you and says, “Aunt Kat, mine want you to make me a pwincess bed whiff spawkwilies to go whiff my tangled sheets.” Let me just tell you I’m gonna make that happen!
I had kept the headboard from my sons old bed intending to use it for Skyler at some point. When a toddler requests a princess bed, and you are the best aunt on the planet, you deliver! Needless to say, as you can see, it was a well used teenage boy inspired piece of furniture.
This is a particle board and veneer headboard, so it’s not as simple to repurpose as something solid wood. This took a little more care in the fact I had to use a razor blade to remove the stickers. Sanding them off would have taken too many layers of veneer off and ruined the piece. After a little goof off on what was left of the sticky residue and a light sanding, it was ready to get painted.

Then next comes the priming. I guess you could forego this step if you would like. However, since it was dark blue and I was going to a light lavender color, I wanted good coverage and I didn’t want to put five layers on to get it. (Aahhh the irony….you will see) I used Bulls-Eye 123 Primer for multi surfaces. I guess I’m not too picky on primers except to be sure it’s for the surface I’m using it on. I probably had this laying around so I figured I may as well use it.
After letting it dry overnight, I busted out my handy Wagner Sprayer and gave the whole thing a good covering of the lavender. I put about two coats on letting it dry for a couple hours between layers, touching up where needed. A friend gave me the sprayer and I wanted to give it a try, but a brush and small roller is just as effective. Another day of dry time later and it’s glitter paint time!!! I found this paint at WalMart in the mistints.
I think it was meant to be. Thanks to my furniture obsession, I’m constantly checking the mistint section of WalMart, HomeDepot, Lowes, Menards, and every other place that sells paint. To find a Disney Glitter paint that was mistinted the exact color of purple I needed and was only $7.50!! Yeah! It’s mine! I know, I have a tendency to get a little excited about paint….and discounts. Hey, I’m thrifty. I have to be. Teenagers are expensive, and I have a ‘Best Aunt Ever” title to uphold.
So, here’s the only downfall of this glitter paint….it’s meant to be clear so having a color get the saturation you want will take multiple layers. This took me about 10-12 layers. I lost count at some point, so it might be more to be quite honest. Here’s a hint; don’t let it sit outside to dry if you live in a humid environment like I do. IT WON’T DRY. The hubby and I had to carefully pick it up and move it into the climate controlled building we use as his rock shop (more on that another time). After that, dry time was a piece of cake. I let each coat dry at least a couple hours and sometimes longer if I wasn’t able to get to it that day.

Next came the cute little mirror set Sky saw at one of our Target outings (on clearance of course). I used liquid nails to apply these. Lets face it, she is 3 and will peel them off if she gets a chance just because she can. So I removed that issue. I stuck the bigger mirror on the inside because I wasn’t sure which side of the bed would be against the wall, and this way it won’t matter now or when they move.

I think it turned out pretty great. It really sparkles! Thanks to the glitter being in its own poly like topcoat, the surface is also pretty smooth. Delivery day was great!

You can’t beat that smile on that little girls’ face. She also requested a matching table and chair so I must have done something right! I overheard my nephew tell her that her bed looked beautiful. He may only be 5, but clearly he has great taste. Not to mention, I am holding tight to my ‘Best Aunt Ever’ title.
Related articles
- 9 “Dreamy” Headboards You Can Make (myownlittleplayground.com)
- Pallet Headboard (diy) (maidouaxiong6975.wordpress.com)
- 7 Ways to Save on Painting a Home (seybertvelez702.wordpress.com)

